This is one of our very first project
“Our Fire Pit”
Project Summer 2020: My son and I made a fire pit to enjoy upstate NY at our home
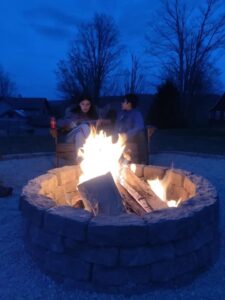
Our family has enjoyed many days around this very place. From cooking S’mores, to playing the guitar, to watching the fireworks and so much more. We continue to enjoy it every day of every year.
Here is a detail outline of how you too can also bulid your very own Fire Pit.
Here you will find a outline of all tools and materials need to accomplish this same look.
So let’s get started:These are tools that will be needed. Shovel, Steel Tamper, leveler, time and patience.Cost:String: used what was on handSpray paint: used what was on handStick: used what was in handPebble rock:Garden pavers:Leveling sand:Weed control fabric:Lava rock:Total:
A perfect place to get warmed on a cold night.

It took us approximately 1 week and yes we could have done it faster. But one I was working just after giving birth, two it was just my son age 11 and myself doing everything and lastly the weather some days it wouldn’t cooperate raining days for hours. The grass was heavy and so was all the supplies.
After walking back and forth with a lot of the supplies. My husband helped by using the car “AKA The Work Horse” to bring the rest of our supplies up.
Step By Step
Step 1: Finding the perfect location. My location is just up a little on our property just outside our fence. It over looks our home just between the trees you can see the mountains and the train passing by. When there’s no clouds you can look up and see all the beautiful stars. Our home is located on 8 acres of land. When we first purchased this property I said “this is where my fire pit is going to be” (back in June 2018).
Step 2: Convincing your husband that you can do it. At first my husband was like “let me find someone to give us a quote”, and I was like “why, when I can do it myself”. After going back and forth I proceeded to get started.
Step 3: My son and I took a stick placing it in the ground at the middle of were we wanted our fire pit start. Then took our string of 8 feet given us a 16 foot radius and a few extra inches to tied one end to the stick, the other end to the spray paint nozzle. We then proceeded to walk in a circle spraying the ground to show exactly where our outline would be of our fire pit edge.

This was all we got done the first day due to how cold it was in March.
Step 4: We then shoveled out the sod and soil to a depth of 2.5 inches. I used the heigh of the paver to give me my depth. I wanted to make sure it would be level with the ground around. We also used online calculator to find the area / circumference the make sure our pavers would fit exactly and to have an estimate of how much supplies would be needed. Calculator used: https://www.omnicalculator.com/math/circle-diameter

Step 5: Using our Tamper and leveler, we made sure the whole circle was leveled. Before placing anything down.
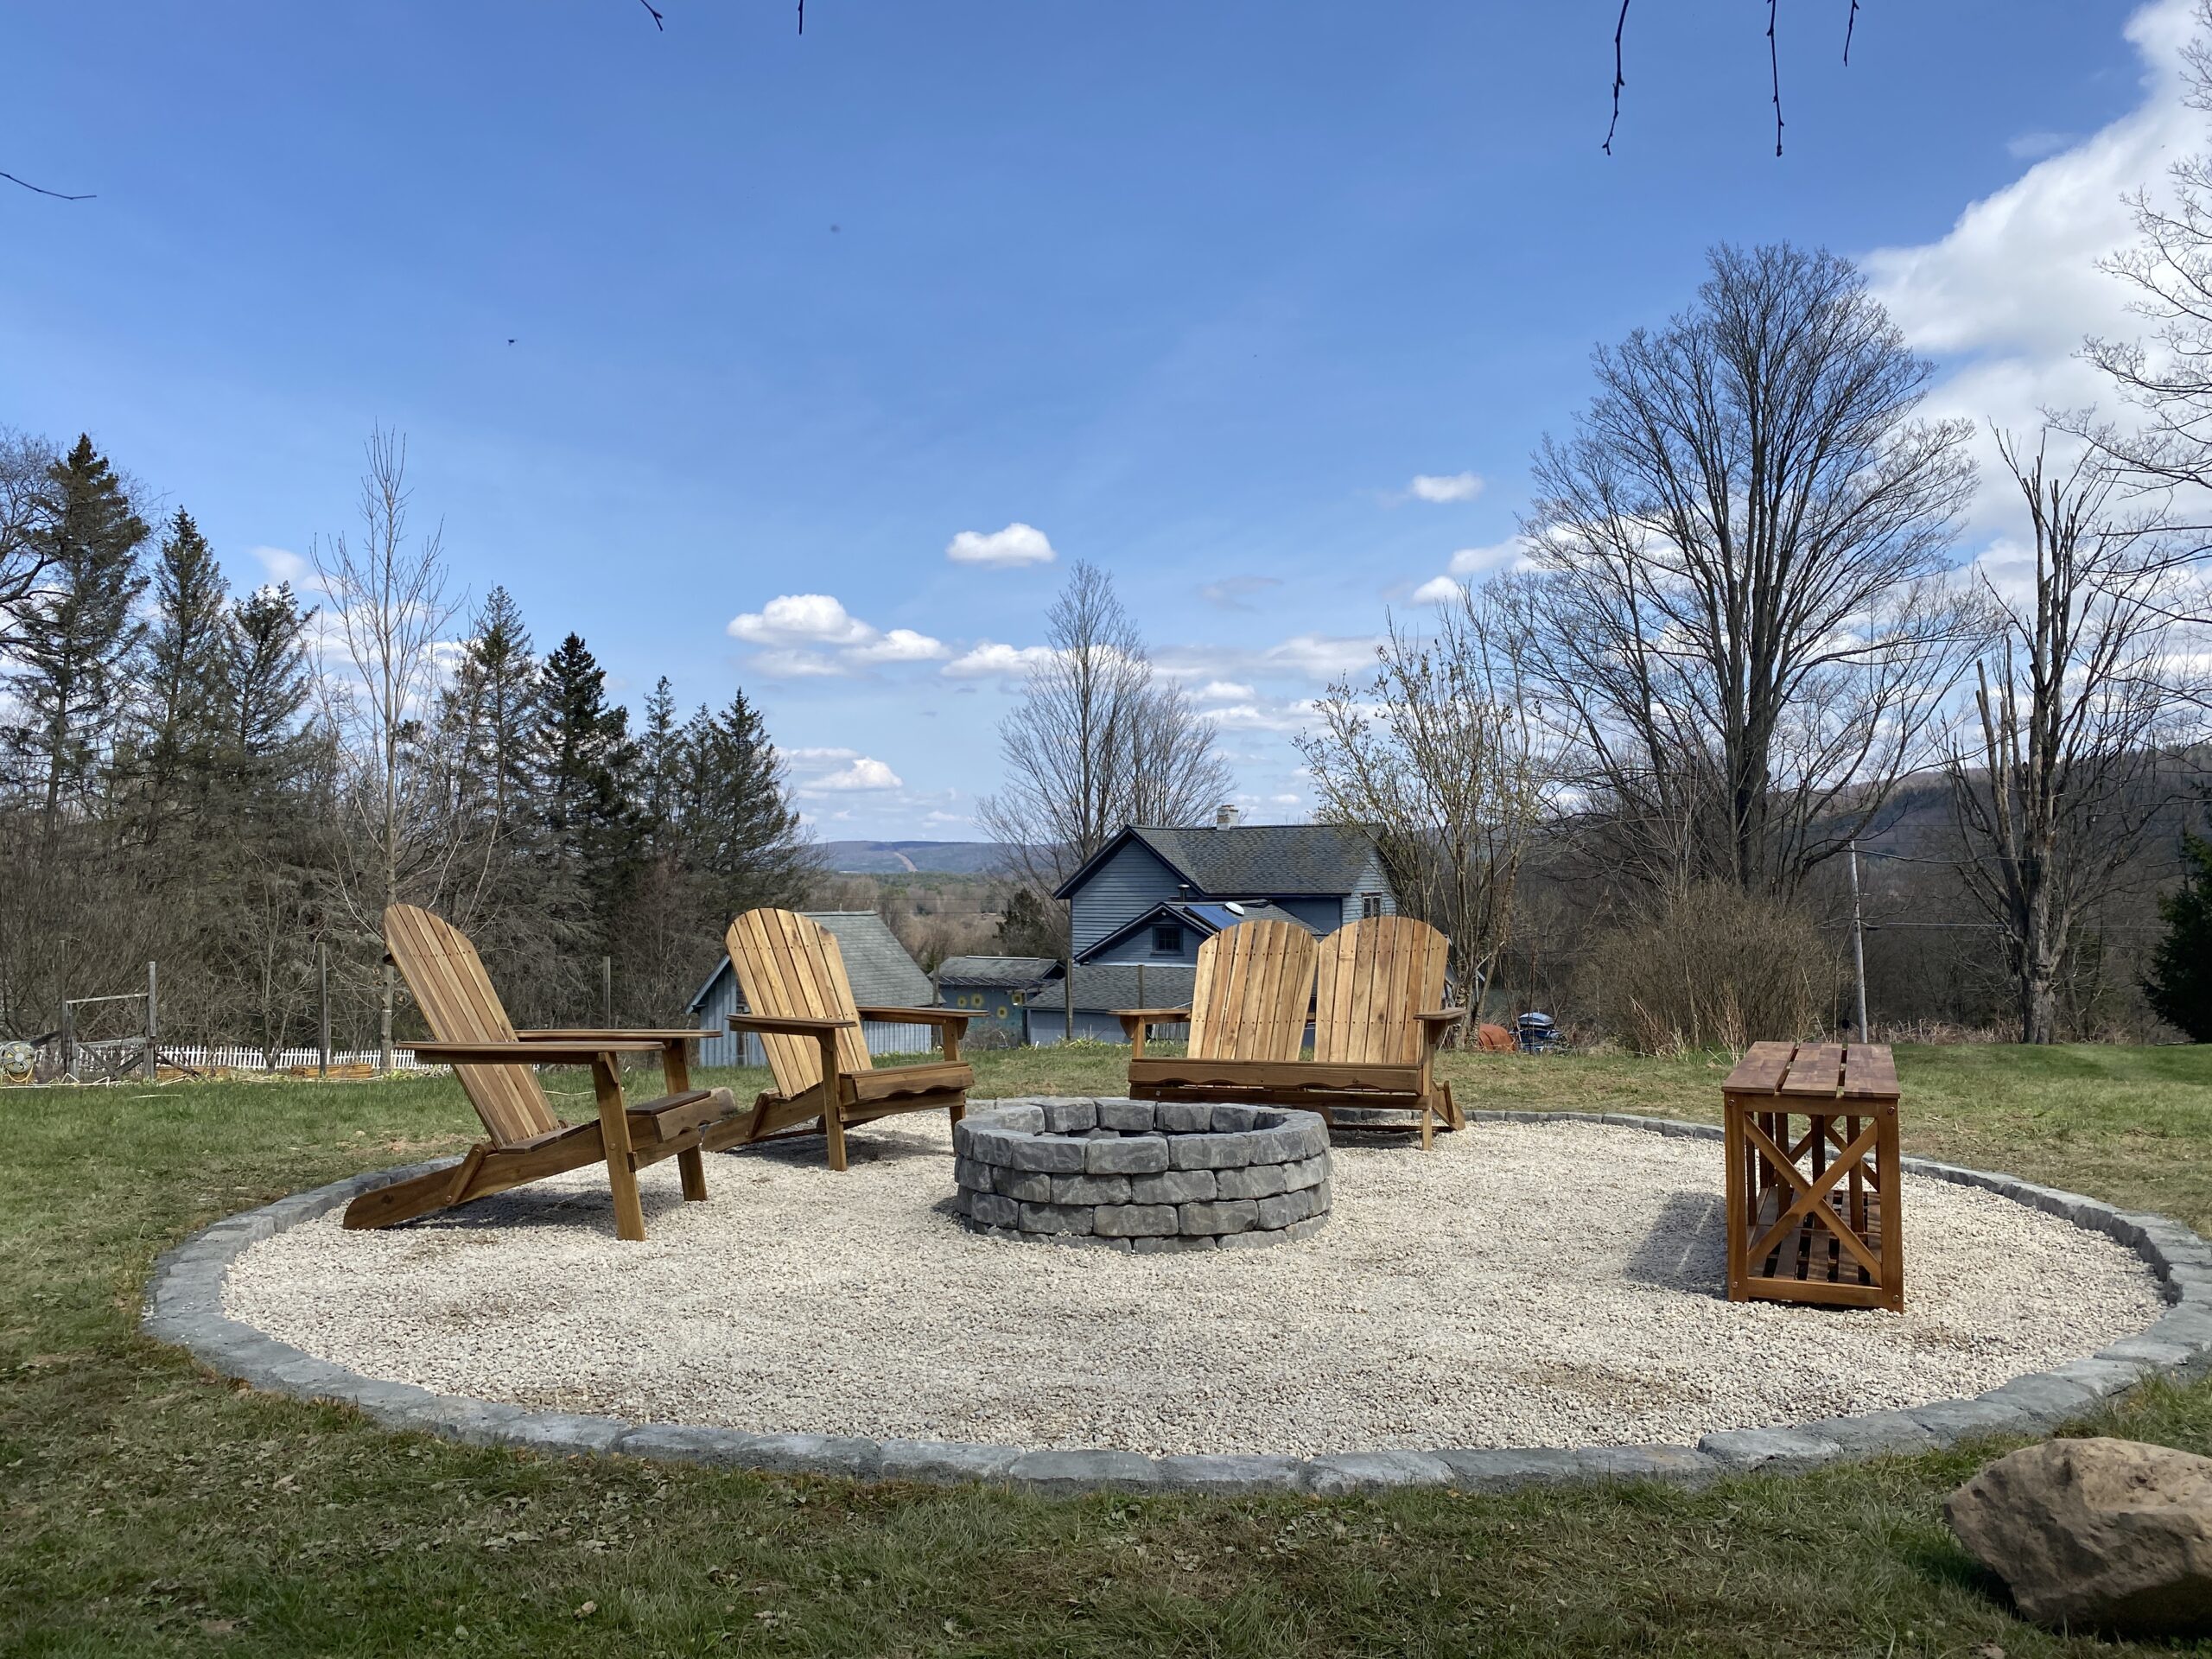
Step 6: We placed our pavers on the edge of our circle and placed the fire pit pavers in the middle making a smaller circle. We then placed our weed control fabric down, placing the pavers on top. This kept them in place, and also prevented the wind from blowing them away.

Step 7: My son and I then placed the pavers on top of each other offsetting them to make the fire pit taller. We made it four rows tall.
Step 8: The leveling sand was used for gaps in between the pavers around the circle edge. This also helps to make sure they don’t move.
Step 8: Lastly we placed XX bags of pebble rocks to the floor area of our circle bringing it all together.

I purchased all furniture Wayfair the bench double as a place to put our fire wood underneath.
After everything it turned out beautiful. Its away for family, friends to gather and enjoying each other’s company. We look forward to using it every year.
My son and I hope you found our fire pit project easy. If you have any questions or would like to show us what you’ve done. Please feel free to send us a email at: [email protected]
Keep checking out my blog to see what my latest projects are and to get inspiration on your own projects.
